Atelier-Python-HP
Python Installation with conda distribution
Conda is the most common package manager for the Python programming language, allowing installation of a distribution of Python together with addon modules.
It can be installed alone (light weight if using miniconda for instance, but requires some work to reach a usable configuration), or wrapped in a larger distribution for data-science called Anaconda.
Table of content:
Easiest installation
Get started
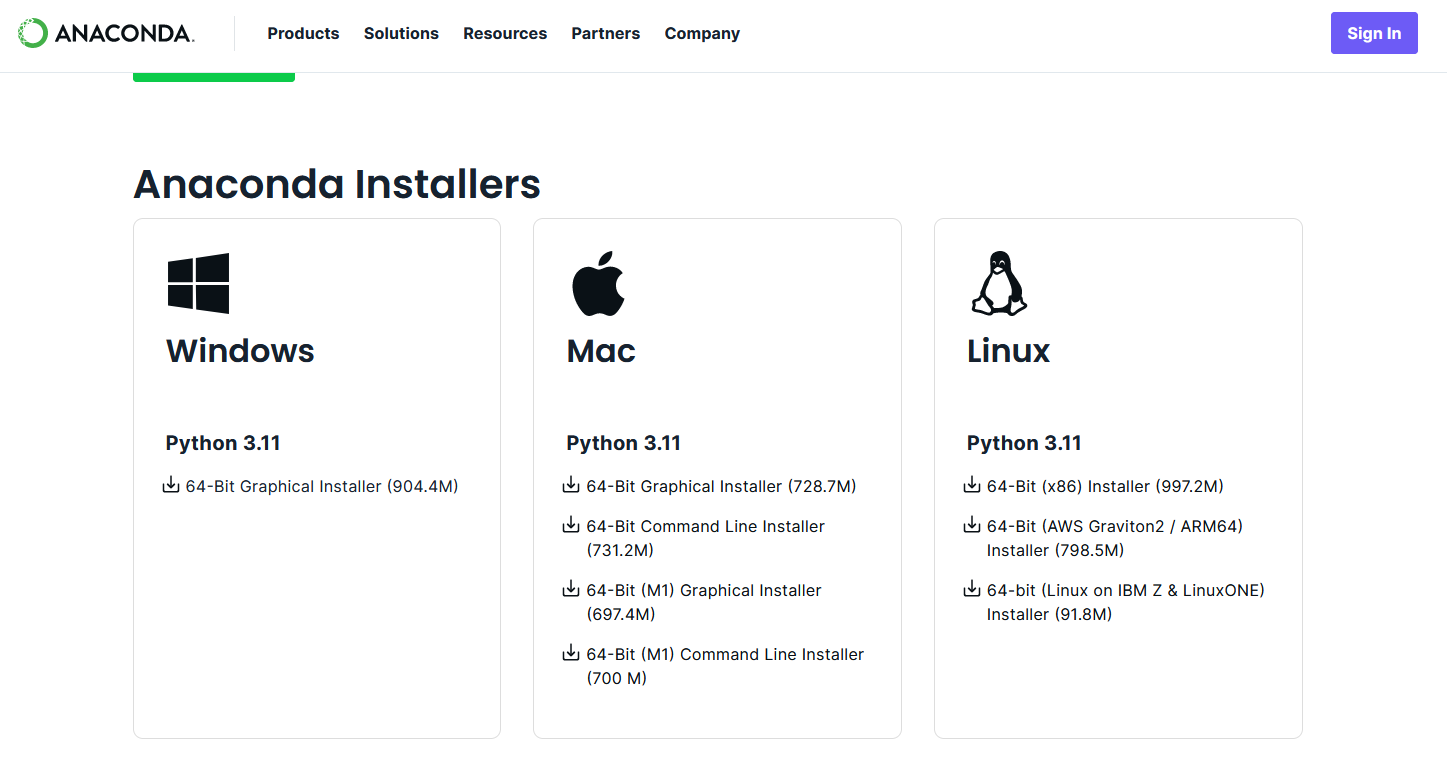
1) Download the Anaconda installer from the official website: https://www.anaconda.com/download/success.
2) Run the installer and follow the steps without changing any options, unless: if your username on Windows contains spaces, do not install in the default directory (C:\Users\username\anaconda3). If your username contains spaces, change the installation directory to “C:\Anaconda”.
3) You now have a new software called Anaconda Navigator in the startup menu. Launch it. You will see a number of different applications that you can use:

We are mainly interested in Spyder and Jupyter Notebook in this workshop.
4) Run anaconda prompt from Anaconda Navigator (Windows) or run any terminal (GNU/Linux, Mac).

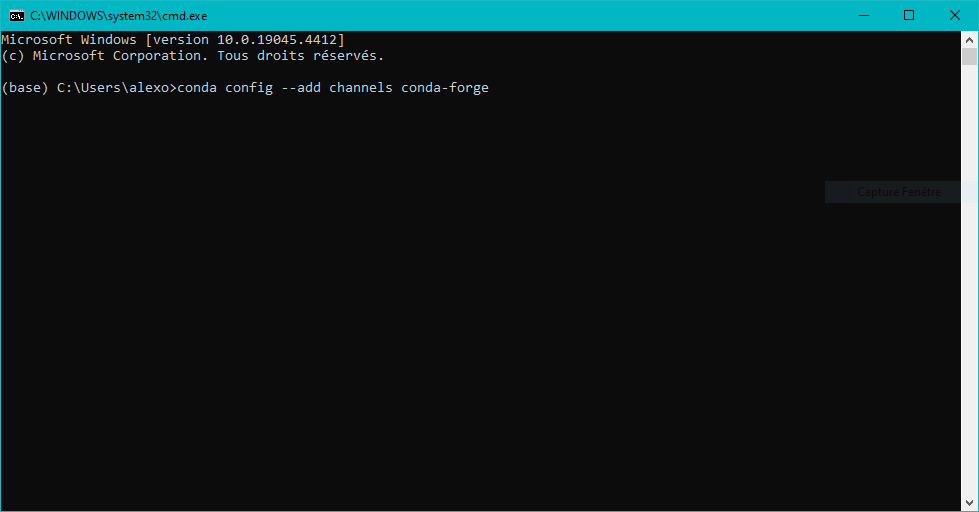
We will add conda-forge repository (this is required only one time at installation). This will allow you to install all the packages you may need from the conda-forge repository later. Run the following two commands one after the other as shown:
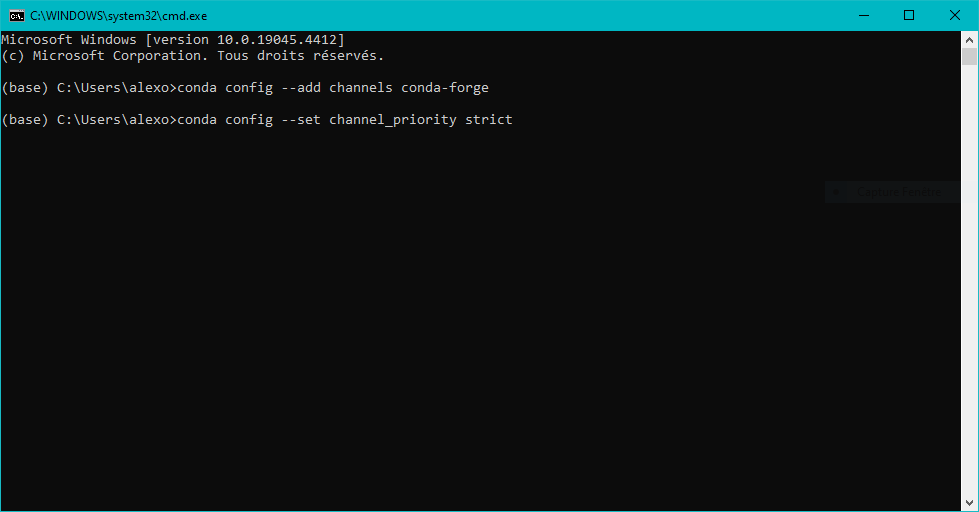
conda config --add channels conda-forge
conda config --set channel_priority strict
You have python installed and set up.
Instead of installing the full Anaconda distribution you may be interested by the more lightweight Miniconda distribution, but do not install both!
How to install new packages
To install any new package, run the anaconda prompt (see above). Then run the following command (example here to install lmfit) :
conda install lmfit
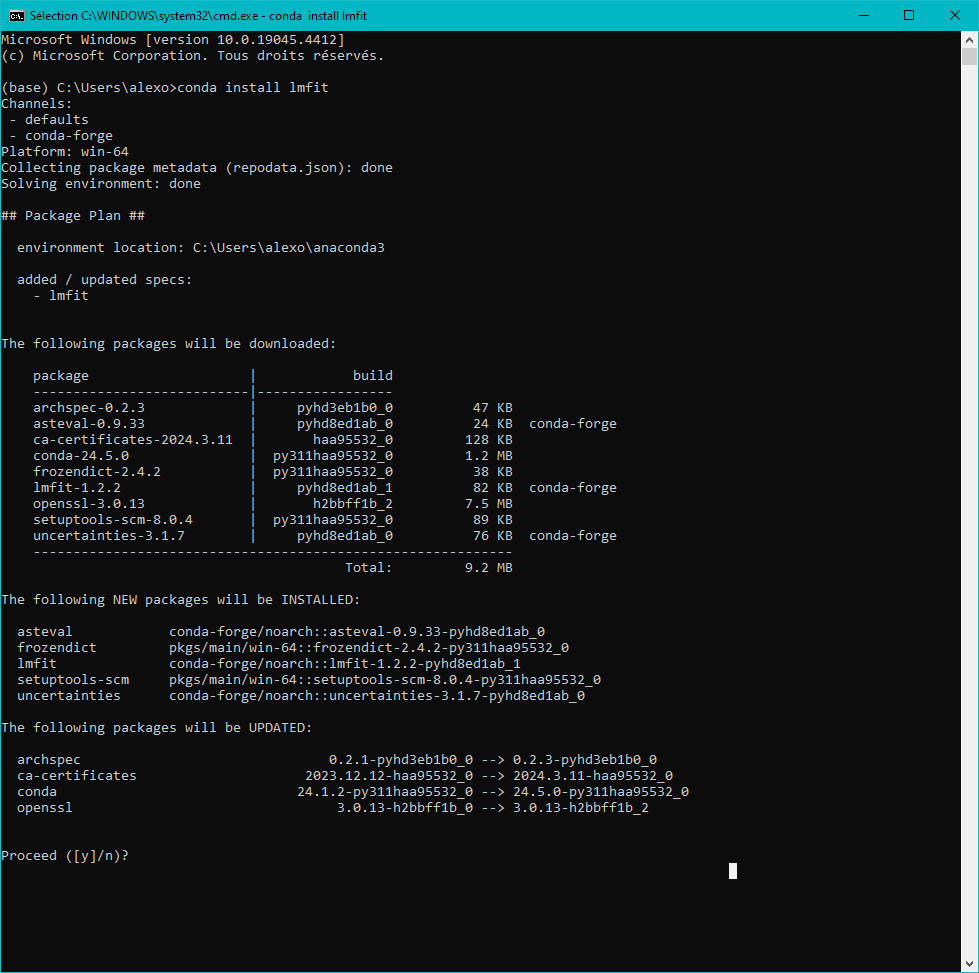
When asked to proceed, type y and enter.
The new package is installing.
To install several packages, you can use a single command line :
conda install numpy matplotlib scipy lmfit h5py hdf5plugin fabio pyFAI tifffile
Use virtual environments
Create a new virtual environment with name “my_env”:
conda create -n my_env
to save time, you can directly create the environment with some installed packages, or install later (see below)
conda create -n my_env spyder lmfit matplotlib pathlib configparser
Activate the virtual environment:
conda activate my_env
The name at the beginning of the line will change from “base” to “my_env” indicating that now you are working in the “my_env” environment Warning: Never Install software in the “base” environment
Install the programs you want, if not already installed at creation of the virtual environment, e.g.:
conda install spyder
You can now launch spyder in my_env:
spyder
List all the virtual environments:
conda env list
The output will show the environment names and installation folders
Delete my_env:
conda remove -n my_env
Changing Env folder:
conda create --prefix D:\folder\my_env python=3.10 spyder lmfit matplotlib pathlib configparser
conda activate D:\folder\my_env
conda env remove --prefix D:\folder\my_env
Create Windows shortcuts to execute your .py file with one click
To create a shortcut to execute filename.py within its associated virtual environment my_env, start by right-clicking the file and click ‘Create a shortcut’.
Right click on the created link, go to ‘Properties’.
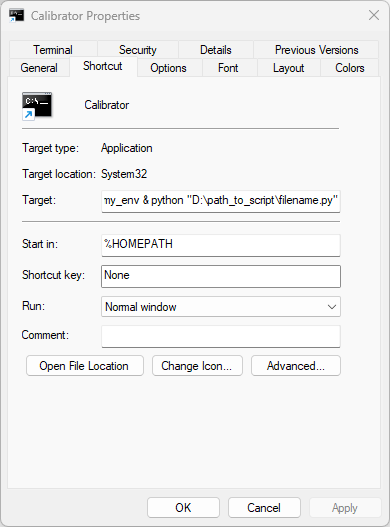
Change the Target to:
%windir%\System32\cmd.exe "/K" C:\Users\username\anaconda3\Scripts\activate.bat C:\Users\username\anaconda3\envs\my_env & python "D:\path_to_script\filename.py"
This command opens a terminal, activates the virtual environment my_env and calls the python script filename.py
Start in:
%HOMEPATH
Regarding python script to be launched in my_env, use it inside “” to account for space in folder name (if any)
D:\path_to_script\filename.py
Shortcuts to an app in my_env (e.g. spyder)
Right click on the link, Properties

Target :
%windir%\System32\cmd.exe "/K" C:\Users\username\anaconda3\Scripts\activate.bat C:\Users\username\anaconda3\envs\my_env & app_name
This command opens a terminal, activates the virtual environment my_env and calls app_name
Start in:
%HOMEPATH
app_name is for example spyder